How to Fix A Loose Screw in a Hinge or Door
First off, let’s get this straight. If you have a screw loose, I can’t help you with that, and welcome the club! If you have a loose screw, we can fix that. This trick will work on any wood surface where a screw is loose or the hole is stripped out to the point that the screw will no longer get or stay tight. Your first thought may be to ditch the original screw for one that is larger so it will grab something and stay tight. Don’t be that guy. No one likes that guy. You don’t need a larger screw, you need a smaller hole.
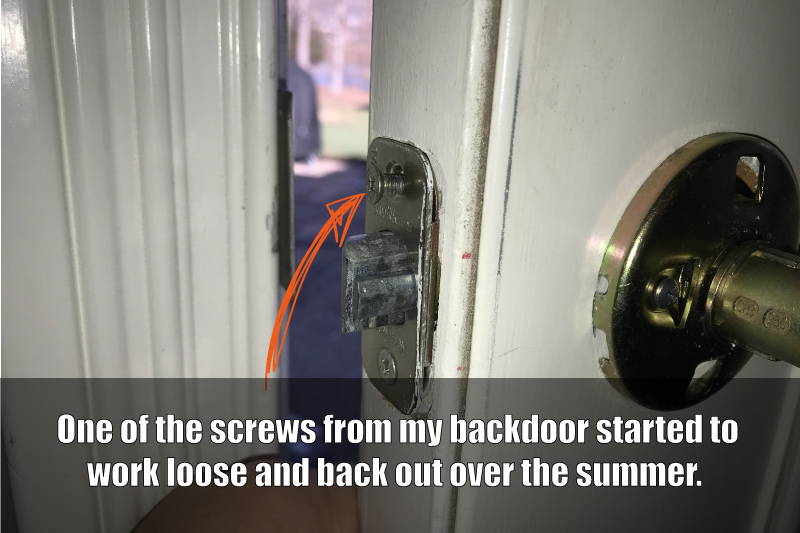
This happened to my back door this year and I finally decided to take an hour and fix it. You can see in the image below, the loose screw was on my door lock striker. It kept backing out on its own. I see this often on kitchen cabinet hinges and doors, regular door hinges, and areas that get worked or moved a lot. The stress of banging around and moving back and forth usually takes its toll on the wood fibers and things start to fail.
HOW TO REPAIR A LOOSE SCREW IN A DOOR, HINGE, OR CABINET
Most of the time a loose screw appears on things that move a lot. Doors (both hinges and locks), kitchen and bathroom cabinets, and just about anything else that is subject to movement or vibration. Over time, the vibration wears on the wood fibers and causes the screw to back out. The re-tightening of these screws over and over cause the wood fibers in the hole to tear, and the threads of the screw can no longer grab. Presto! You have a loose screw and a floppy door or hinge.
The good news is that this is super easy to fix, and you may even have everything around the house already. Let’s get our materials together and I’ll show you the process.
MATERIAL LIST FOR REPAIRING A STRIPPED HOLE & LOOSE SCREW
As I said, you don’t need a larger screw, you need a smaller hole. We accomplish this by filling the original hole and starting the old screw all over. This essentially is like driving the screw in for the very first time. Here is what you need:
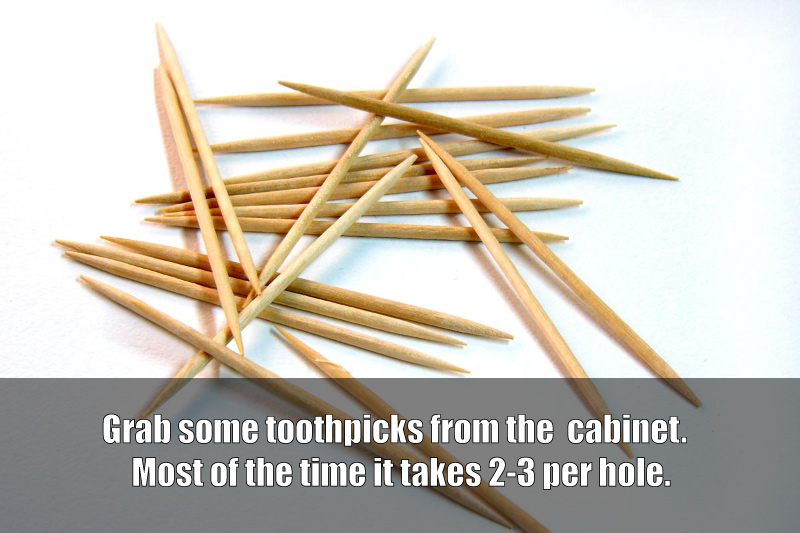
Toothpicks – You can use anything wood here you like…this is your core filler material. I like toothpicks because they are tapered, and I can keep adding them until the old hole has been stuffed. Plus, I always have a box of them in the kitchen. These Toothpicks should work great.
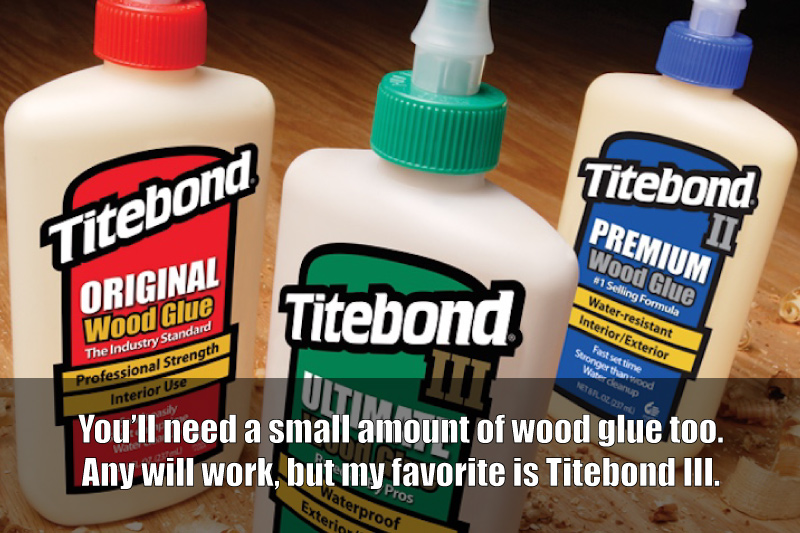
Glue – I’m a woodworker, so I keep gallons of the good stuff around the house all the time. My favorite is Titebond III. It’s a waterproof wood glue that is a darker brown color than what you normally see. Any of the Titebond lines will work fine. I’ve never tried to use regular Elmer’s white school glue (but I bet it would work just fine). Note- Stay away from Gorilla Glue and other polyurethanes. They foam and expand during curing and it will make one hell of a mess. Those glues are great for what they do, we just don’t need anything like that here.
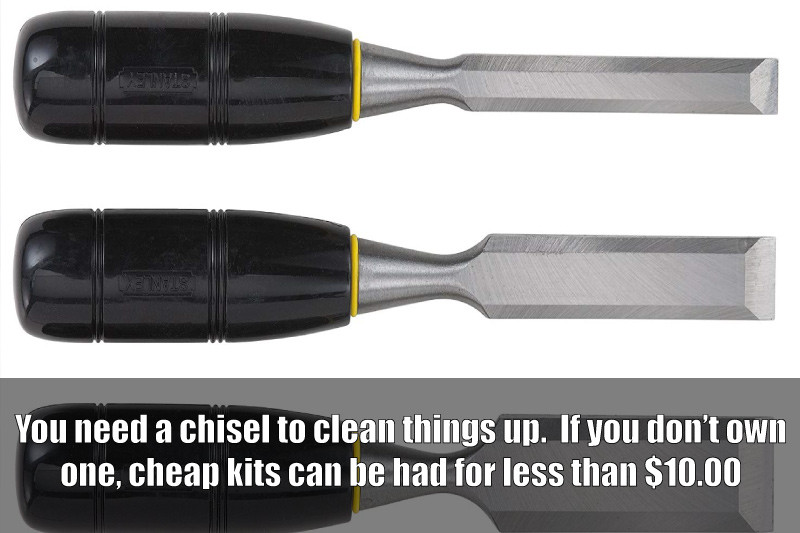
Once the glue is set, you’ll need to be able to clean things up with something sharp. I used a chisel but you may not have one, so a box cutter or pocket knife should do the trick if you are careful. Try not to slice your hand open in the process. Note- Every homeowner should own a small chisel set and understand how to use them. If you don’t have one, this cheap kit on Amazon will work fine.
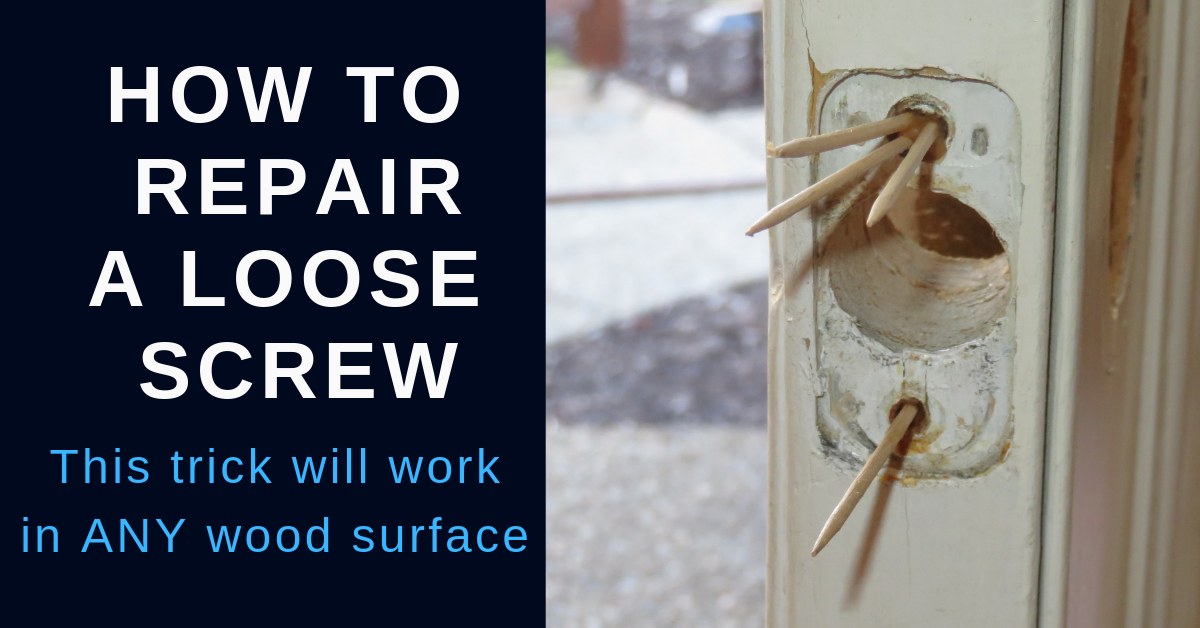
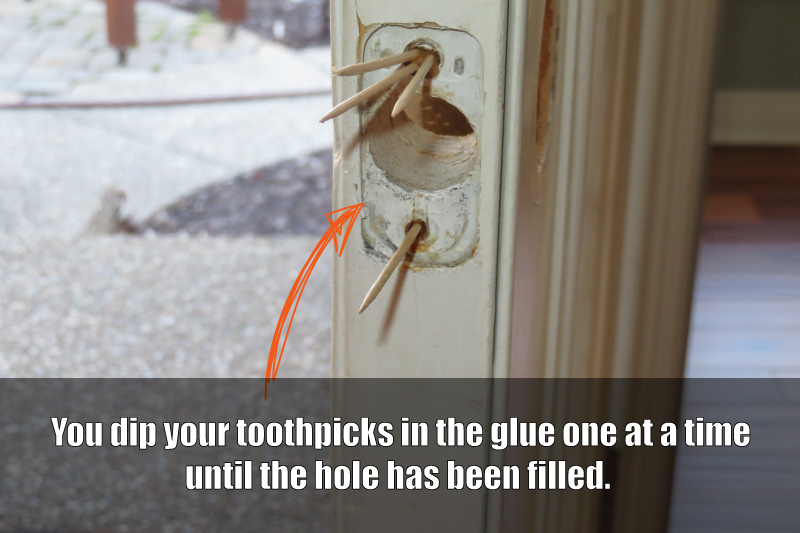
Step #1- Dip the end of your toothpicks in the glue and stuff them in the hole. Keep adding them until the hole has been filled. If things are not too bad, I find that 3 is usually the magic number. That gives you a triangle shape of filler. Don’t worry if you get a bit of glue drip or run down the wall or door. Just keep a wet paper towel handy and clean up as you go. Let the glue dry. How long this takes will depend on what type of glue you use, and the temperature outside. Most of the time I find a few hours will do the trick, but in some cases, you may need to let it dry longer.
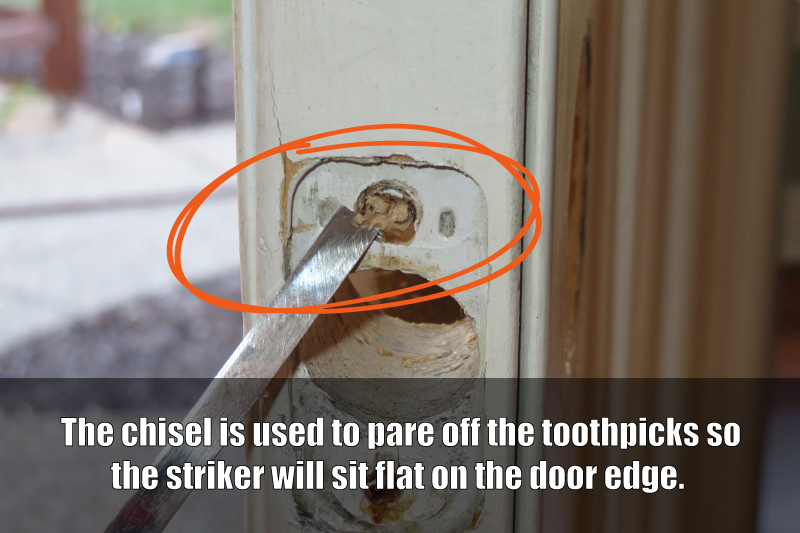
Step #2 – Break off the toothpicks and twist off excess (there is a quick video below showing this if you don’t understand what I mean). Once you get most of the toothpicks out of the way you can pare off the tiny shards of toothpicks with your chisel. ‘Paring’ is a term used in woodworking to shave off a little bit of material at a time. You want to make sure you don’t have any shards of the toothpick sticking out that would cause your metal plate to not sit flat.
Step #3 – Re-assemble everything. You may be tempted to grab your drill and run your screws back in to save time. Don’t do it. Unless you are skilled with trigger control on your drill, you could end up stripping out the new plug you just put in. It’s best to use a regular screwdriver and take your time putting things back together.
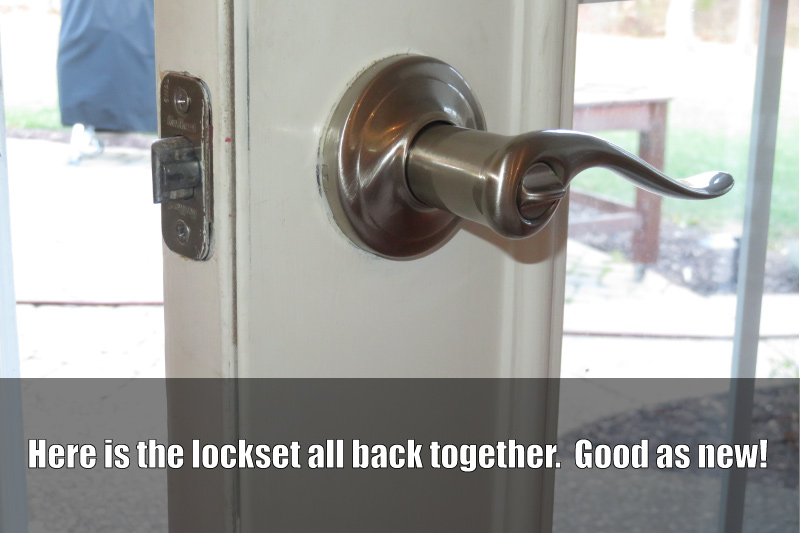
All done! The whole process only took about 20 minutes (with a couple hours of drying time for the glue). Remember this will work on kitchen and bathroom cabinet hinges, door lockets, regular door hinges, and anything else that has a screw into wood that just won’t get tight anymore.





Ben Hendricks
Hi, I’m Ben, and I inspect houses. I grew up with a hammer in my hand, and have been a professional home inspector for 15 years. My blog is here for info about home inspections around the Louisville, Kentucky area, and just about anything construction-related.