How to Install A Window That Will Not Leak in 6 Steps
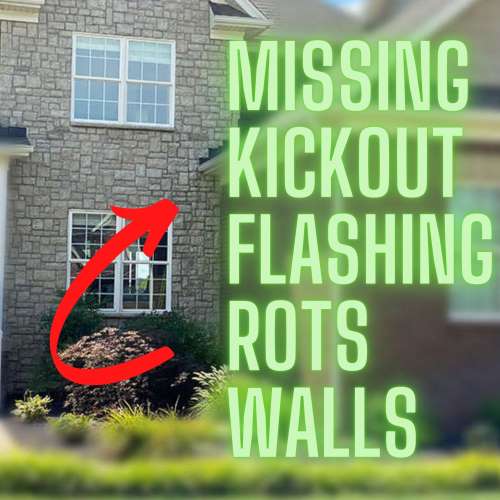
As I was writing a post about yet another leaking manufactured stone house, I found my focus drifting into a detailed write up on how to install a window properly, as that house had multiple issues that needed to be addressed, incorrect window installation being one.
And, while you may never install your own window, you may very likely find yourself the owner of windows that leak. And if that is the case, perhaps this post can help you find the cause–and possibly, the solution.
So, here it is.
Let’s call this a detailed overview of installing a window in a new construction. I read through several installation guides while researching this topic, and I found that most window manufacturers all say about the same thing. There are a few minor differences in each of them, so the caveat here is to be sure to read your manufacturer’s install guide and follow it.
The images from this post were cut from this Pella Window Guide, and you can download it here: Pella Installation Guide
STEP #1 – WRAP THE WALL WITH A WEATHER RESISTANT BARRIER
When a window is installed in a rough opening, which is just the 2×4 or 2×6 and plywood wall, you want to think about how water will act IF there was no siding (manufactured stone, brick veneer, vinyl siding) present to shed most of it away. In other words, we want to layer things from bottom to top. This ensures gravity will bring the water down the wall and not in the wall. Let’s look at some diagrams and I’ll explain this process step by step.
Here you can see the wood wall has been wrapped in a layer of WRB (weather resistant barrier). This layer of protection is often called house-wrap, or Tyvek. Tyvek is a name brand of WRB manufactured by Dupont, so we’ll stick with calling it WRB for this post.

Notice the dashed lines on the WRB. These are showing you how to cut the window opening so that you can install the window. Pay close attention to the lines. You’ll see they are not a square, or even an X. It is more of what I would call an “I” pattern.
The I-pattern is done so that the top of the window wrap can be peeled back out of the way while the window is being installed. Remember: Everything laps from the ground up. If you install the window over the wrap, even if you use flashing tape, it will leak eventually.
STEP #2 – WRAP THE WALL WITH A WEATHER RESISTANT BARRIER

Now that the WRB in place and the I-pattern is cut, you must fold up the top of the wrap and tape it out of the way. This section gets folded back down over the nail flange of the window once it is set in place. The sides of the opening are tucked in and around the jams and tacked in place. The rough opening of the window is now fully exposed.
STEP #3 – INSTALL WINDOW SILL PAN FLASHING

Most failed windows I see have skipped this step. This flashing process is typically done with a peel and stick flashing tape. There are many different manufacturers of the stuff, but here is a link to a 3M version. Flashing tape is used to seal off the bottom of the opening, which of course is where the water will end up most of the time.
You’ll want to make sure you cover the sill completely, starting with the front edge of the window opening (1D Image). You’ll likely need to run two layers, and you want the second strip to overlap the front (1F Image). The sides of the flashing should run up the side walls 6″, and the front should overlap the wall 3″.
STEP #4 – INSTALL THE WINDOW IN THE OPENING

Now that the hole in the wall has been properly flashed, we can set the window in the rough opening. You’ll want to be sure and place a bead of sealant along the back of the nail flange all around the window. Also, be sure that top flap of WRB is still taped back out of the way, and the upper flange of the window does not end up on top of the WRB.
Ideally, the rough opening will be about 1/2″ larger than the actual window size. This will break down to 1/4″ gap on all 4 sides of the window. These numbers should have been worked out during the framing of the wall. When setting the window you’ll want to be certain to center the window in the hole (using shims), and make sure you still hit wall structure when nailing the window flange to the house. If your rough opening is too large, the nails won’t bite into anything and the window may shift around in the hole.
STEP #5 – USE FLASHING TAPE TO SEAL THE WINDOW NAIL FLANGE

Your window is now set in place, and it’s time to wrap things up. The sides and top of the window get a strip of flashing tape on them. Be sure you run the sides first, and then the top (the top run should overlap the sides about 1″). Remember – every step must consider how water will flow on the wall. Notice that the WRB is still taped back at this point.
This particular install guide does not call for a strip along the bottom of the window. In fact, it states in bold NOT to tape the bottom of the window. However, I did read another brand’s guide that did say to tape the bottom. Be sure and read your specific guide first and follow it accordingly. If your guide says to tape the bottom, be sure and tape that seam first.
STEP #6 – TAPE ALL THE SEAMS

Finally, you can now fold down that upper flap of the WRB. Fold it down OVER the window flange that was sealed with flashing tape. The two angle cuts (corner of the opening) of the WRB get a couple of small pieces of flashing tape as well (Image 3E). Be sure to extend the flashing tape a few inches past the cut of the WRB. Don’t be stingy. We want a tight seal so water can’t get in.
WHAT IF MY WINDOW IS NOT A SQUARE SHAPED?

Not every window is square or arched. There are lots of different shapes when it comes to windows but the process to install them is basically the same. One thing you will have to do differently is modify the way you cut your WRB. Here you can see the different shapes of windows and how to make your initial cut of the WRB. Once this step has been correctly made, the rest of the process should fall right into place.